Target Tracker Quick Start Guide
The GSP Target Tracker enables users to create targets for salespeople, teams, and products directly in Salesforce. Additionally, your chosen targets can be applied monthly, quarterly, annually, or on a custom time period if required.
Opportunities and/or Opportunity Products link directly to your target records based on simple matching criteria. That said, a brief setup is needed to ensure the appropriate fields are visible on the front end.
These fields will help you understand when an Opportunity and/or Opportunity Product is linked or unlinked from a target record.
Steps to Complete
If you intend to track salesperson or team targets, read points 1 and 2, and continue from point 3. If you are only tracking product targets, continue from point 10.
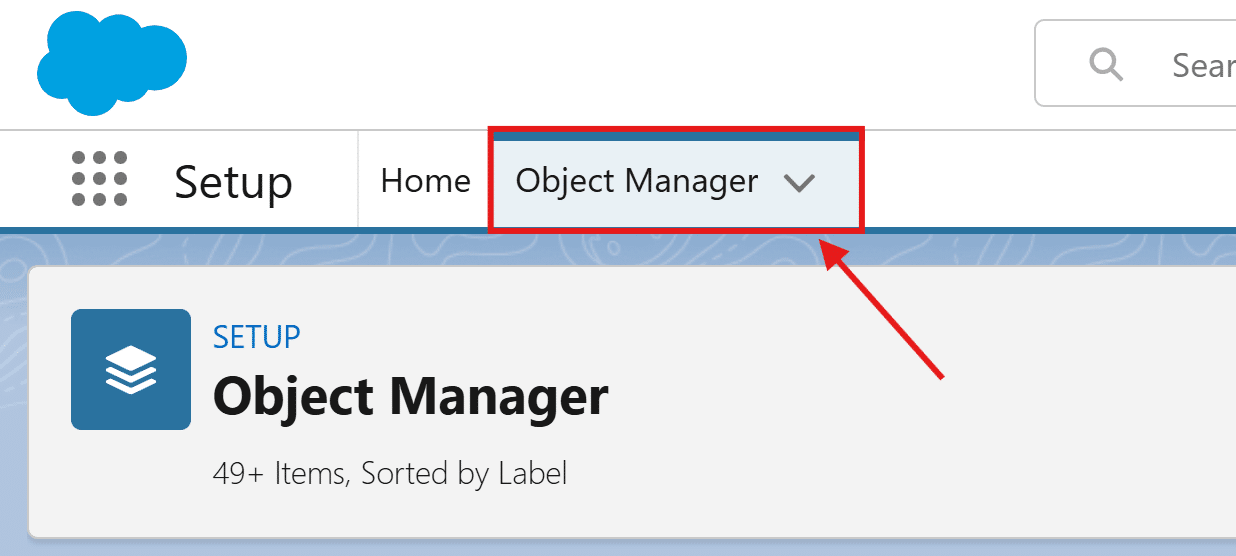
- Navigate to the setup menu and click “Setup”.
- Select the “Object Manager”.

- Find and click the “Opportunity” object in the Object Manager.
- You can scroll the list or use the “Quick Find” search bar in the top-right corner.
- Navigate to “Page Layouts” in the Opportunity object.

- Find and click the page layout you are actively using on the Opportunity.
- If you have multiple page layouts in use (e.g., across multiple record types), you will need to complete steps 5-9 for each page layout.
- Add a new section to the selected page layout called “Target Information”.
- Position this section wherever it best fits your current page layout (we typically recommend placing it towards the bottom of the page).
- Depending on the targets you intend to create, add the following to your new “Target Information” section.
- For Sales Target usage, add the “Sales Target” and “Target Type” fields.
- For Team Target usage, add the “Team Target” and “Team” fields.
- If you wish to create both Sales and Team targets, add all four fields.

- Additionally, add the “Do Not Link To Target” field.
- Once you are happy with the included fields and their positioning, click “Save”.
- Return to the “Object Manager”.
- Find and click the “Opportunity Product” object in the Object Manager.
- Navigate to “Page Layouts” in the Opportunity Product object.

- Find and click the page layout you are actively using on the Opportunity Product.
- Add a new section to the selected page layout called “Target Information”.
- Position this section wherever it best fits your current page layout (we typically recommend placing it towards the bottom of the page).
- Add the following to your new “Target Information” section.
- Add the “Product Target” field and “Target Type” fields.

- Add the “Product Target” field and “Target Type” fields.
- Once you are happy with the included fields and their positioning, click “Save”.


Outcomes
After adding the appropriate target fields to your page layouts, they will be immediately visible on the front end. Initially, the value will be blank across all records. As you create targets, the system will automatically populate the target relationships on the appropriate records.
Now, you are ready to begin creating targets for salespeople, teams and/or products. For guidance, please refer to the following getting-started articles:
Troubleshooting
Recommendation:
If required, create sales, team, and product targets by following the steps outlined in the appropriate articles.
Recommendation:
For more information, refer to the “Rollup Additional Sales Target Fields” article (the same principle applies to team and product targets).
Recommendation:
Create your targets by following one of the configuration articles listed above. If you have created your targets, please refer to the matching logic information, also included in the articles listed above.
Request Further Support
If you’re still having some trouble, we’re more than happy to help. Let us know what you’re struggling with using the form below, and we’ll be in touch as soon as possible.