How to Use a Custom Date Field to Link Records to Targets
Available In All Versions of GSP Target Tracker
By default, the GSP Target Tracker uses the Opportunity Close Date to link Opportunities or Opportunity Products to the appropriate Sales, Team or Product Target.
We use the “Close Date” field because we can guarantee it exists in every Salesforce environment worldwide. That said, we also acknowledge that this isn’t always the correct field to use for target matching logic.
Many businesses want to use a custom date field on the Opportunity, so that your matching conditions are:
- Does the Opportunity Owner/Team match the Target Owner/Team?
- Does the Opportunity Custom Date Field fall within the Target Period?
To use a custom date field, an admin will need to complete some additional configuration, but the process is extremely quick and simple.
Steps to Complete
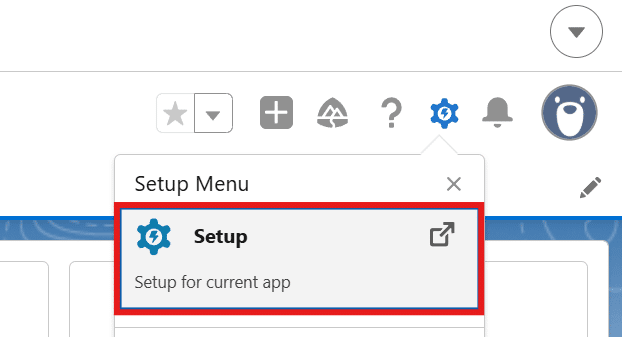
- Navigate to the “Setup” menu.

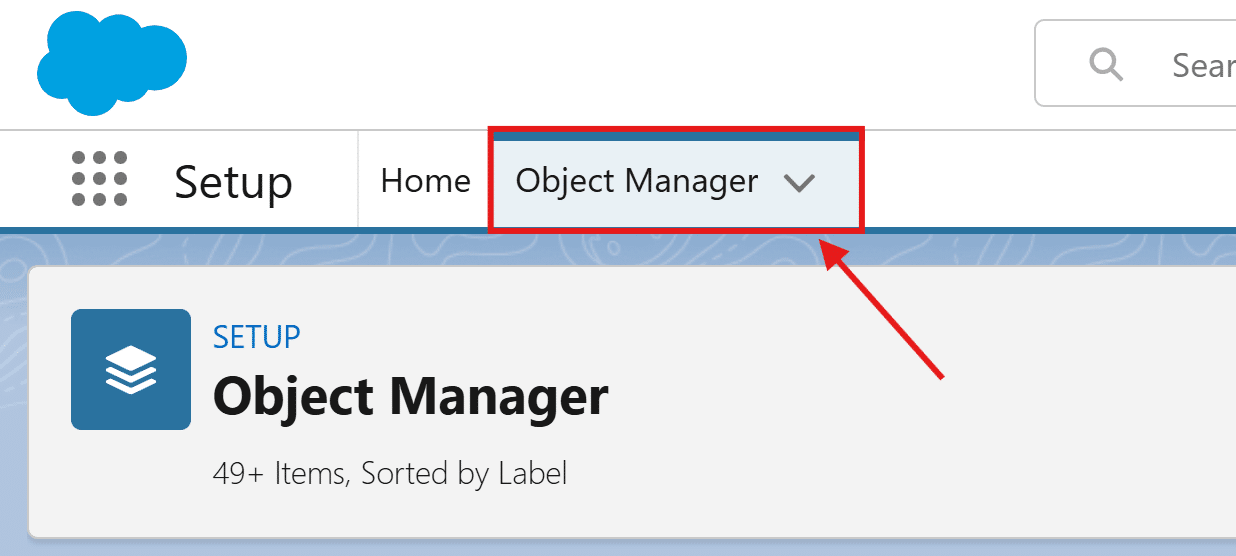
- Select the “Object Manager”.

- Find and click the “Opportunity” object in the Object Manager.
- Navigate to “Field Sets” in the Opportunity object.

- Find and click the “Target Date Matcher” field set.
- Remove the “Close Date” field from the “In the Field Set” section.
- Find your custom Date field in the section at the top of the page.
- You can use the “Quick Find” search bar to search for the field label.
- If you have multiple fields with similar names, you can check the API Name by hovering over the field for a moment.
- Drag your custom Date field from the section at the top of the page into the “In the Field Set” section below.

- Once added, click “Save”.


Outcomes
Once you have updated the field set, Opportunities and Opportunity Products will begin to link to all types of targets using your custom date field instead of the standard Opportunity “Close Date”.
Troubleshooting
Recommendation:
If you need to realign all your existing target records with a custom Date field, we recommend removing and recreating them via the “Manage Targets” tab.
Recommendation:
Open the “Target Date Matcher” field set and remove any additional included fields. If there is only one field included, please confirm that this field is a Date field.
Request Further Support
If you’re still having some trouble, we’re more than happy to help. Let us know what you’re struggling with using the form below, and we’ll be in touch as soon as possible.