Roll Up Additional Product Target Fields
Available In All Versions of GSP Target Tracker
By default, the GSP Target Tracker measures performance against the Product Target using the standard “Opportunity Product Total Price” field on the Opportunity Product; however, for many businesses, the standard Total Price field isn’t the correct metric for determining success.
For example, many teams use annual recurring revenue (ARR) or margin to measure performance against target on a per-salesperson basis.
That said, the GSP Target Tracker fully supports tracking performance against the Product Target using any currency or number field on the Opportunity Product. To begin using additional fields, an admin will need to complete some additional configuration.
To make this process as simple as possible, we have provided formula templates within the field/formula help box below.
If you need to roll up additional Sales Target or Team Target fields, please refer to the following articles:
Steps to Complete
Opportunity Product Configuration
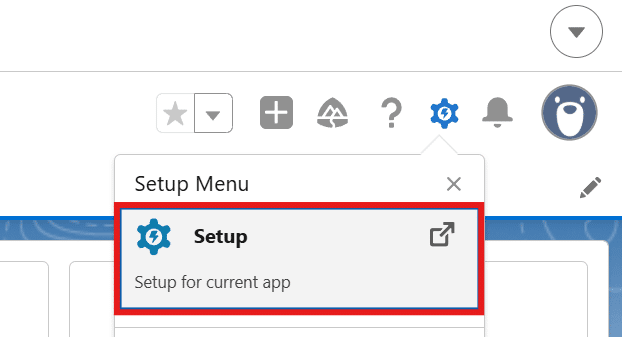
- Navigate to the “Setup” menu.

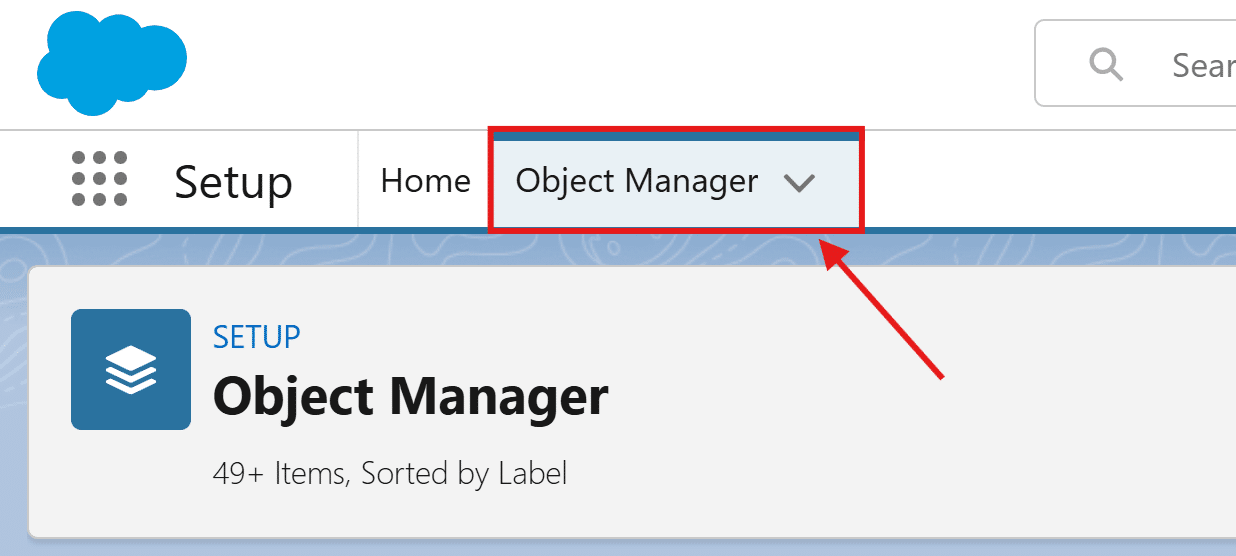
- Select the “Object Manager”.

- Find and click the “Opportunity Product” object in the Object Manager.
- Navigate to “Fields & Relationships” in the Opportunity Product object.

- Confirm the field on the Opportunity that you want to measure the target against.
- Specifically, take note of the exact API name of the field. The API name is particularly helpful if you have several fields with similar labels.
- Additionally, take note of the “Data Type” column value for the selected field.
- We’ve referred to your field as “YourSelectedField” in the formula help boxes.
- Once confirmed, click “New” to begin creating the field.
- Select “Formula” as the data type and click “Next”.

- Populate the “Field Label” using the first field label in the Opportunity Product to Product Target Formula Field help box.
- Once you have added the “Field Label”, the “Field Name” (API Name) will populate automatically.
- You must note the “Field Name” (API Name) for the field, as you will need it for a later step.
- Depending on the data type, please select one of the following options:
- For Currency fields, select “Currency” as the formula return type.
- For Number fields, select “Number” as the formula return type.
- Update “Decimal Places” to the appropriate value for your field and click “Next”.
- Populate the formula using the first formula in the Opportunity to Product Target Formula Fields help box.
- Click “Check Syntax” to confirm the formula is valid and ensure that you have selected “Treat blank fields as zeroes” in the “Blank Field Handling” section. When complete, click “Next”.
- Repeat steps 6-12 for the two remaining fields included in the Opportunity Product to Product Target Formula Fields help box.
- Navigate to “Field Sets” in the Opportunity Product Object.

- Find and select the “Product Target” field set.
- This field set specifies which fields to roll up to the Product Target.
- At the top of the screen, there will be a box that includes every field on the Opportunity Product. Find the three formula fields created in steps 6-13 and drag them into the grey “In the Field Set” box below. Once added, click “Save”.
- We recommend leaving the default fields included in the field set and simply adding your new fields.


Product Target Configuration
- Select the “Object Manager”.
- Find and click the “Product Target” object in the Object Manager.
- Navigate to “Fields & Relationships” in the Product Target object.

- Click “New” to begin the field creation process.
- Select the same data type as the data type used in step 9. Then, click “Next”. As a reminder:
- For Currency fields, select “Currency” as the data type.
- For Number fields, select “Number” as the data type.
- This field is not a formula; we are simply storing the value from the Opportunity. “Currency” or “Number” must be the data type, not the formula return type.
- Populate the “Field Label” using the first field label in the Opportunity to Product Target Formula Fields box.
- Once you have added the “Field Label”, the “Field Name” (API Name) will populate automatically.
- Make sure that the “Field Name” (API Name) matches the “Field Name” (API Name) from the associated Opportunity formula field. The “Field Name” is used to confirm a match between the Opportunity field and Product Target field, so the “Field Name” values must be an exact match.
- Repeat steps 20-22 for the two remaining fields included in the Opportunity Product to Product Target Formula Fields help box.
- Finally, we need to create the Product Target formulas to understand our performance against Product Target better.
- Click “New” to begin the field creation process.
- Select “Formula” as the data type and click “Next”.
- Populate the “Field Label” using the first field label in the Product Target Formula Fields help box.
- Once you have added the “Field Label”, the “Field Name” (API Name) will populate automatically.
- Depending on the data type, please select one of the following options:
- For Currency fields, select “Currency” as the formula return type.
- For Number fields, select “Number” as the formula return type.
- Update “Decimal Places” to the appropriate value for your field and click “Next”.
- Repeat steps 25-29 for the five remaining fields included in the Product Target Formula Fields help box.
- Navigate to “Page Layouts” in the Product Target object.

- Select the “Product Target Layout” page layout.
- Find and add all new Product Target fields created between steps 20 and 30.
- You can position these fields in the page however you like; however, we recommend the following.
- Left column: Target, Closed Won, Pipeline, Weighted Pipeline, Total Expected, Expected Variance.
- Right column: % Achieved, % Pipeline, % Weighted Pipeline, % Expected Target Achievement.
- Once you have added the appropriate fields, click “Save”.


Outcomes
After creating the formula fields on the Opportunity, adding them to the “Product Target” field set and creating the corresponding set of fields on the Product Target object, your field will roll up from the Opportunity Product to the Product Target as expected.
Additionally, after creating the additional Product Target formulas, you will have the values needed to effectively measure your new field’s performance against the Team Target.
Troubleshooting
Recommendation:
Review the corresponding field on the Product Target and confirm that the “Field Name” (API Name) is identical to the corresponding field on the Opportunity Product. If the Product Target field does not exist, create it.
Recommendation:
Ensure that you are only attempting to roll up either Currency or Number fields from the Opportunity Product.
Recommendation:
If you need to understand achievement %, expected target achievement per user, and target variance, create the Product Target formulas. They provide additional insights into target performance and can be leveraged in standard Salesforce reporting to create high-impact reports and charts.
Recommendation:
If you’re struggling, don’t hesitate to get in touch. We’re happy to help with any GSP Target Tracker configuration.
Request Further Support
If you’re still having some trouble, we’re more than happy to help. Let us know what you’re struggling with using the form below, and we’ll be in touch as soon as possible.