How to Change the Targeting Cadence
Available In All Versions of GSP Target Tracker
By default, the GSP Target Tracker assumes that you need monthly Sales, Team and Product Targets. However, many businesses need to adjust this to create quarterly, annual, or custom target periods.
The GSP Target Tracker fully supports adjusting your targeting cadence.
To adjust the targeting cadence, an admin will need to complete some additional configuration, but the process is extremely quick and simple.
Steps to Complete
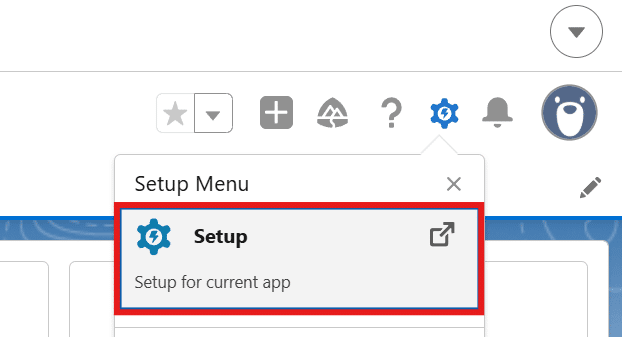
- Navigate to the “Setup” menu.

- Search for “Custom Settings” using the “Quick Find” menu.

- Find and click the “MST Target Period” custom setting.
- Click the “Manage” button on the “Custom Setting Definition Detail” page.

- Click “Edit” on the Default record.
- Update the “#Months” field to align with your targeting requirements:
- “1” represents monthly targets.
- “3” represents quarterly targets.”12″ represents annual targets.
- Additionally, add another value if required.
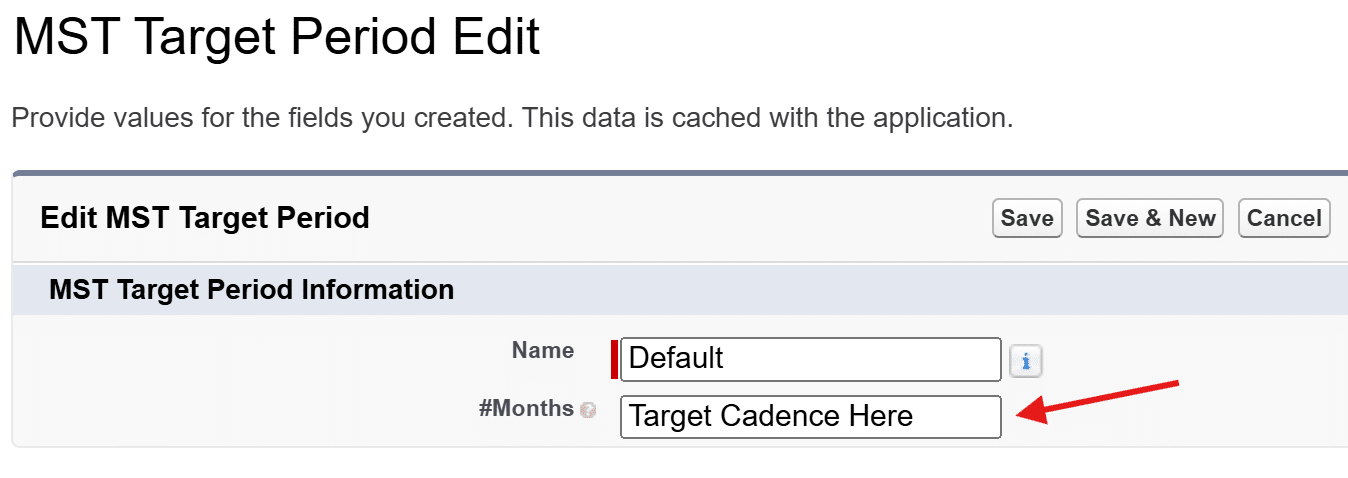
- Once you have populated the “#Months”, click “Save”.
- Open the App Launcher within Salesforce (9-dot matrix in the top-left corner of the screen), and select the GSP Target Tracker app.

- Click the “Manage Targets” Tab.

- Select any subtab (Sales Targets, Team Targets or Product Targets) and click “Next”.
- Expand one of the users/teams in the list below, and confirm that the available inputs align with your targeting cadence.


Outcomes
Once you have updated your targeting cadence, the “Manage Targets” tab will allow you to input target values for months, quarters, years, or your custom targeting period.
Troubleshooting
Recommendation:
Either only attempt to create/update one target at a time between saves, or reduce the targeting cadence to monthly and consolidate targets into quarterly and annual views using reports and dashboards.
Recommendation:
You can use any targeting cadence, but going beyond monthly increases the risk of timeouts/usage-limit errors controlled by Salesforce. We recommend using monthly targets and consolidating them into quarterly and annual views via reports and dashboards.
Recommendation:
Change your targeting cadence as needed, but make sure to review your targets in the “Manage Targets” tab and apply any required updates.
Request Further Support
If you’re still having some trouble, we’re more than happy to help. Let us know what you’re struggling with using the form below, and we’ll be in touch as soon as possible.