How to Use the Salesperson Target Type
Available In All Versions of GSP Target Tracker
For many businesses, a single target per Salesperson per target period isn’t enough. Many teams need to track different types of targets for each Salesperson, such as new business and renewals.
The GSP Target Tracker fully supports this concept using “Target Type” functionality for Sales Targets. Additionally, target types are fully customisable, allowing businesses to tailor them to fit their specific targeting requirements.
When using Target Type, Opportunities link to Sales Targets based on 3 matching conditions:
- Does the Opportunity Owner match the Sales Target Salesperson?
- Does the Opportunity Close Date fall within the Sales Target Period?
- Does the Opportunity Target Type match the Sales Target Type?
A Jan 2026 Opportunity owned by Dave Apthorp, with a “New Business” type, would link to the Jan 2026 New Business Sales Target for Dave Apthorp. If you need to amend this logic, please refer to the “Using a Custom Date Field to Link Opportunities or Opportunity Products to Targets” article.
To begin using target types, an admin will need to complete some additional configuration.
Steps to Complete
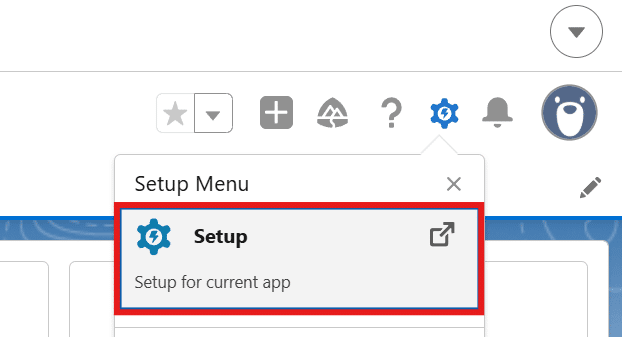
- Navigate to the “Setup” menu.

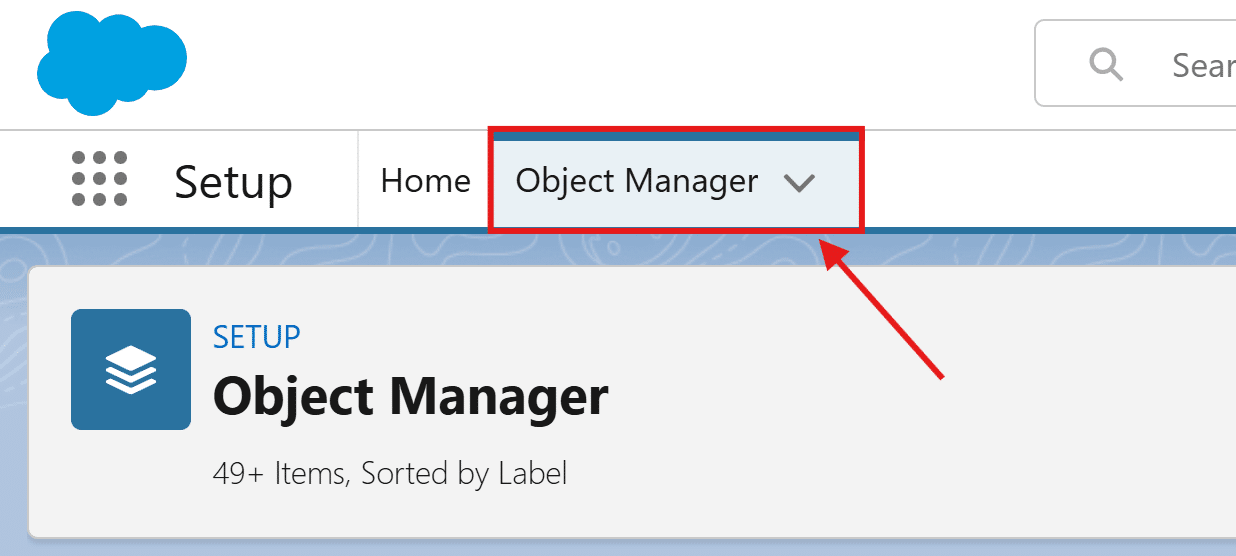
- Select the “Object Manager”.

- Find and click the “Opportunity” object in the Object Manager.
- Navigate to “Fields & Relationships” in the Opportunity object.

- Search for “Type” and find the “Target Type” field (GSPTargets_Target_Type__c).
- Click the “Target Type” field.
- Scroll down to the “Values” section.
- By default, you will see two values: “Type A” and “Type B”.

- By default, you will see two values: “Type A” and “Type B”.
- Click the “View Target Type Value Set” button to the right of the “Values” heading.
- Click “Edit” next to the “Type A” value and replace “Type A” with your first type.
- You must update the label and the API name with your updated type value.
- Once updated, click “Save” to return to the value set.

- Click “Edit” next to the “Type B” and repeat the process with your second type.
- If you require more than two target type values, click “New” to the right of the “Values” heading.
- You can add multiple values at once by separating each value with a line break.
- Update the “Add the new picklist values to all Record Types that use this Global Value Set” checkbox to true.
- When you have added your values, click “Save”.
- Optionally, you can click the “Reorder” button to the right of the “Values” heading to reorder your target type values.
- After you have added the values, select the “Object Manager”.
- Navigate to “Page Layouts” in the Opportunity object.
- Open the Opportunity page layouts that are in use and ensure you add the “Target Type” field to the “Target Information” section on the Opportunity. Click “Save”.


Outcomes
After updating the “Target Type” value set, users can create sales targets for specific target types using the “Manage Targets” tab. When viewing the “Sales Targets” subtab within the “Manage Targets” tab, you can select the target type you would like to create/update targets for using the dropdown in the top right corner of the screen.
Once created, the system will link any Opportunities that match the 3 matching criteria to the associated sales target.
Troubleshooting
Recommendation:
Go to the “Manage Target” tab and create a set of targets per target type for each Salesperson.
Recommendation:
Go to the “Manage Target” tab, select all of the users you will need to view across all target types, and only populate target values for each user where appropriate. When you leave the target values blank, the system will not create a target for that Salesperson.
Recommendation:
You have several options to backdate the “Target Type” on your Opportunities: manually update them, use the Dataloader to mass-update your records, or create an automation using flow/Apex. If you need any assistance with this, please get in touch.
Request Further Support
If you’re still having some trouble, we’re more than happy to help. Let us know what you’re struggling with using the form below, and we’ll be in touch as soon as possible.