Using Target Types on Salesperson Targets
On Salesperson Revenue Targets, you can segment your targets further using the Target Type feature. For example, you might have separate Salesperson Targets for New versus Existing Logos.
We recommend creating business definitions of each target type before using this feature. The various target types are defined at the Opportunity Product level. However, you can reference data at the Account, Opportunity, Product, or User levels to define your target types.
There are three main steps to configure the Target Type functionality:
a) On the Opportunity Product:
- Navigate to Setup.
- Click Object Manager.
- Go to the Opportunity Product Object.
- Click Field and Relationships.
- Locate the Target Type Field.
- Click “View Target Type Value Set”
- Create your Target Type Picklist Values.
- Then Click Save.
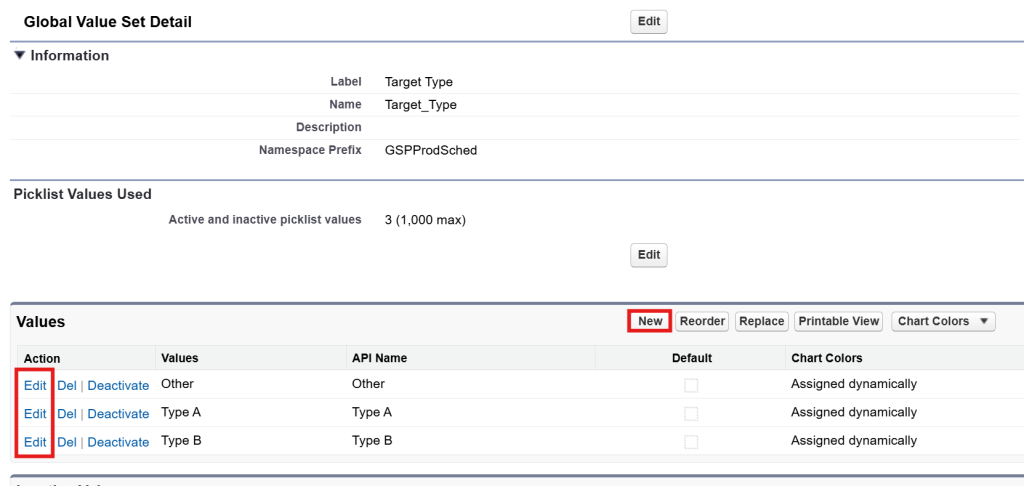
By modifying the Global Value Set, you have simultaneously updated the “Target Type” values on both the Opportunity Product and the Salesperson Target.
b) Decide how to populate the Target Type field:
When the Target Type on an Opportunity Product record matches the equivalent field on the Salesperson Target, the Schedule Amount will roll up to the matching Target record.
So, how do you populate the Target Type on the Opportunity Product?
There are two options.
- Add the Target Type to the Multi-Line Item page layout. This approach requires users to populate the Target Type manually.
- Automatically populate the Target Type on the Opportunity Product using a Flow.
We generally recommend the second option because it reduces the salesperson’s work and ensures the correct record value every time. When defining your flow, you can reference fields on the Account, Opportunity, Product, User, or even somewhere custom if required.
As always, if you need help, get in touch.